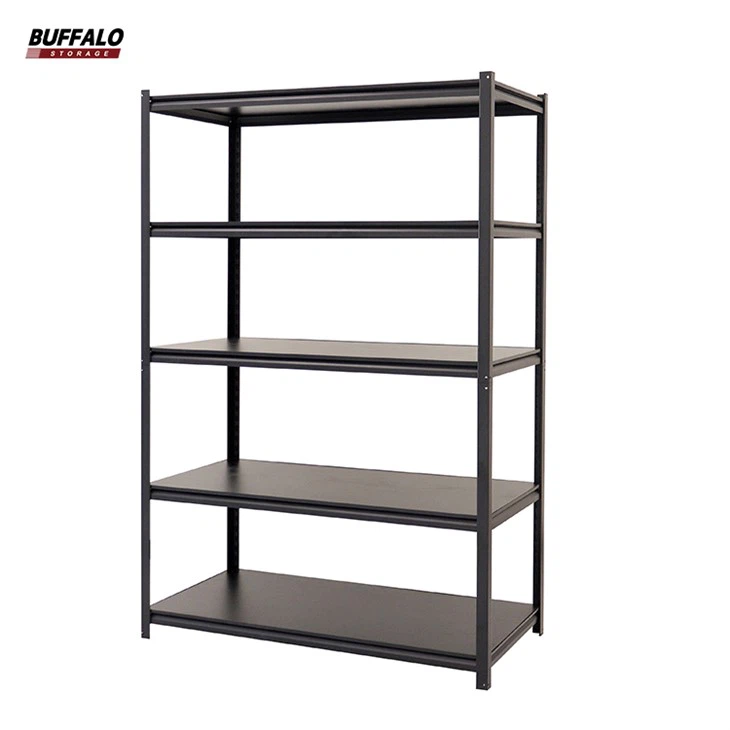
In this article, I’ll teach you how to install a boltless garage shelves on yourself.When you receive your boltless garage shelves, you will find that there are many parts included in the package. Includes 5 pcs MDF boards,8 pcs curled half uprights,10 pcs long beams, 10 pcs short beams,5 pcs middle cross bars,4 pcs connectors and 8 pcs plastic stoppers.
Then check the number of the shelving components and see if there is any damage.
Before installing,you would better prepare a rubber hammer and gloves(Although our shelves are designed to be bolt-free, to prevent injuring your hands during assembly and to make the assembly process easier, we recommend wearing gloves and using a rubber mallet).
After the above preparations are completed, we begin to formally assemble the shelves.
I divided the entire assembly process into three parts.First, let’s assemble the lower half of the shelf.
Insert the plastic stopper on the bottom of the half upright.
Slot in the short beam into the half upright.Make sure the beam ties are fully locked in.
Continue to add short beams at your preferred height.
Repeat the above steps to create the second side frame.
Join two side frames with two long beams. Make sure both short beams and long beams are at the same level.
Then, assemble the upper half of the shelf.
Merge two half uprights using a connector.
Add the rest short beams and long beams.
Insert middle cross bar to each level.
Bend the ties 90 degrees before inserting.
Insert the other 4 plastic stoppers on the top of the half uprights.
The third step is to place the mdf board.
Put MDF boards on each level.
Now a boltless garage shelf has been easily and quickly assembled.
Contact us now for more information: www.buffalostoragework.com


